The Australian ecommerce industry is growing fast. It is estimated that over 12% of all consumer spending will be carried online by the end of 2021 in Australia. The consumer concerns related to online buying decreased by 4 points due to Covid-19 in April 2020. Selling online is the new normal for Australian businesses because that’s where the economy is heading.
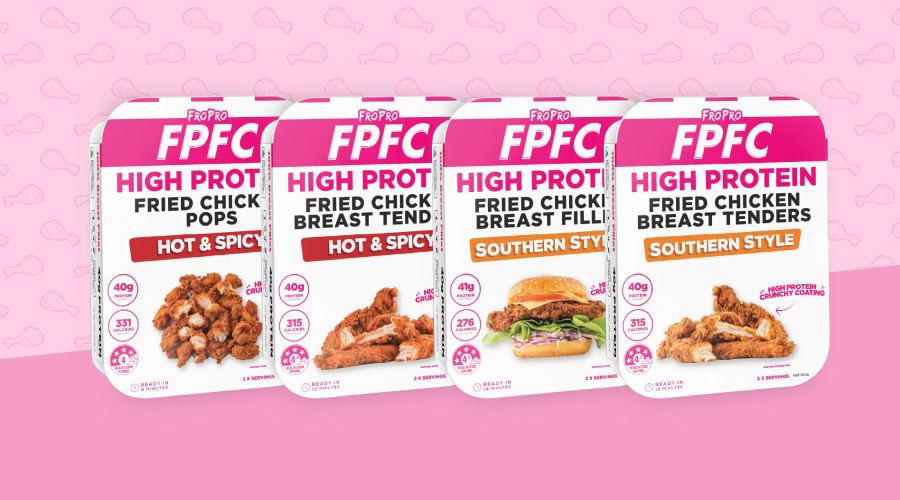
Food and Personal Care is the largest segment that is expected to become $6,991 million market by the end of 2020. There isn’t any better time to take your meal providing business online.
Thanks to Shopify that has made online selling simplified yet cost-effective. This actionable guide covers everything you need to know to start selling online through Shopify.
Why Meal Providers Should Use Shopify to Sell Online
Shopify is the second most popular ecommerce platform with a whopping 20% market share. You don’t need any technical knowledge to sell online via Shopify. Its ease of use and simplicity make it a top ecommerce platform.
Here is what makes Shopify the best ecommerce platform for meal providers:
- Getting started with Shopify is extremely easy. Setting your online store for the very first time is super-fast. This is one reason why it is the second most-used ecommerce platform in the world. You don’t need any technical knowledge, coding, designing, HTML, or any other special skill to get started. (More on this coming soon)
- Shopify has an app store with over 4,200 apps to choose from. These apps super-charge your store. You can find apps for everything ranging from marketing to payment processors to design to shipping and more.
- There are over 100 themes that you can use to create your online store in a few minutes. No designing needed. No coding required.
- You can integrate your offline and online stores easily with Shopify POS. It acts as a single solution to manage your physical and online store.
- It is affordable rather cheap. In as low as $29 per month, you can start selling online. What’s better?
- It is a reliable and credible platform that is publicly traded. You are safe with Shopify.
How to Start Selling Online Through Shopify
Selling on Shopify for brick-and-mortar businesses is far easier than new businesses with no physical presence. If you are already in the meal providing business and planning to sell online, you can get started right away by following these 8-steps:
Step #1: Start Free Shopify Trial
You need to start your free trial with Shopify. Yes, it comes with a free 14 days trial and costs $29 per month. Click here to start your free trial:
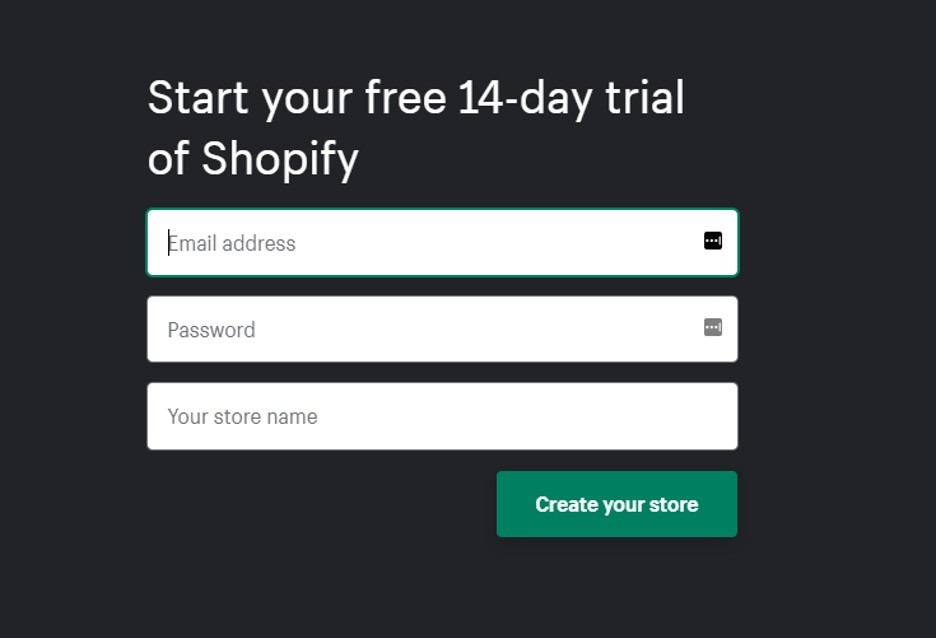
Add an email address, a password, and store name. The store name is your shop name and it can’t be changed later. Importantly, it will become your store’s default URL provided you don’t link a custom domain name.
Choose a store name that is relevant, easy-to-read, and sweet.
Once you are done, click Create your store.
You’ll then have to answer a series of questions that will be used to customise your store and dashboard:

You can, of course, skip these questions but it is recommended to spend a few minutes and answer all of them.
You’ll be asked to add your address on the next page:
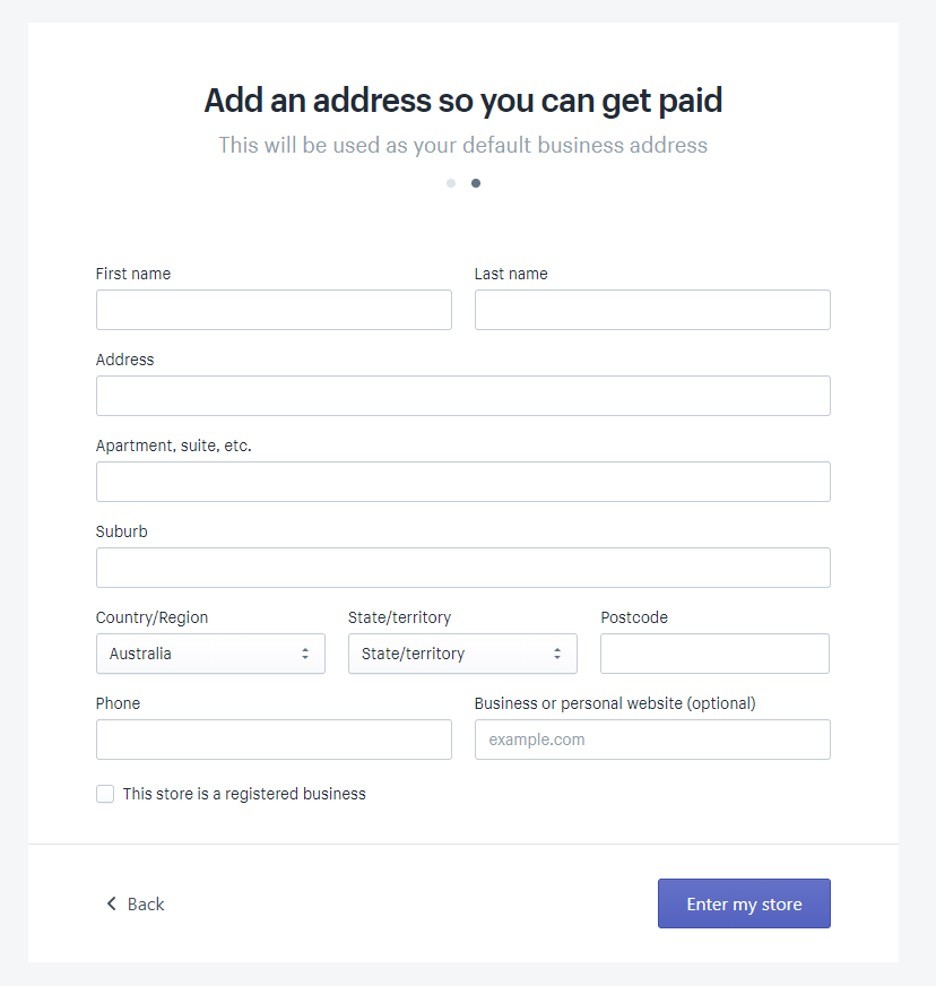
Click Enter my store when done you’ll see the first look of your dashboard:
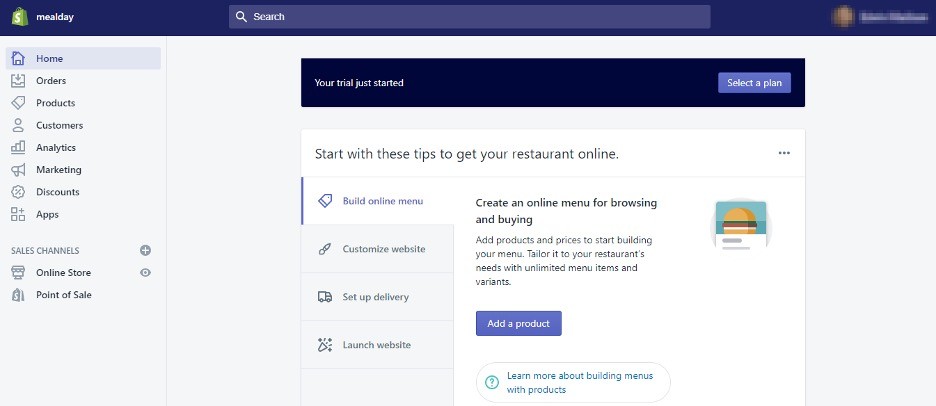
Depending on what answers you provided to the questions, the left sidebar will be customized for you. For instance, if you are already doing business, you’ll see Point of Sale under Sales Channels to help with integration.
Explore the dashboard and make yourself familiar.
Note: Don’t forget to verify your email address. You’ll receive an email from Shopify for email verification.
Step #2: Add Meals
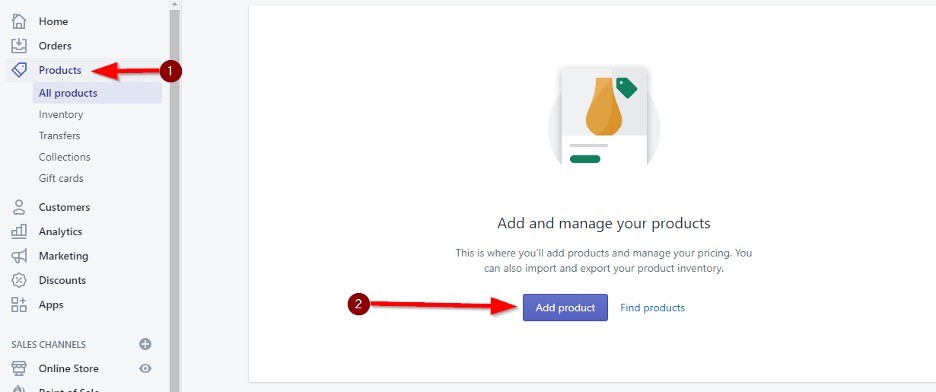
As a meal provider, the meals you offer is your core product. As soon as your Shopify account is setup, the first thing you must do is add your products. Click Product in the sidebar and then click Add product to add your first meal:
The add product is a very detailed page with several sections. Here is how it looks:
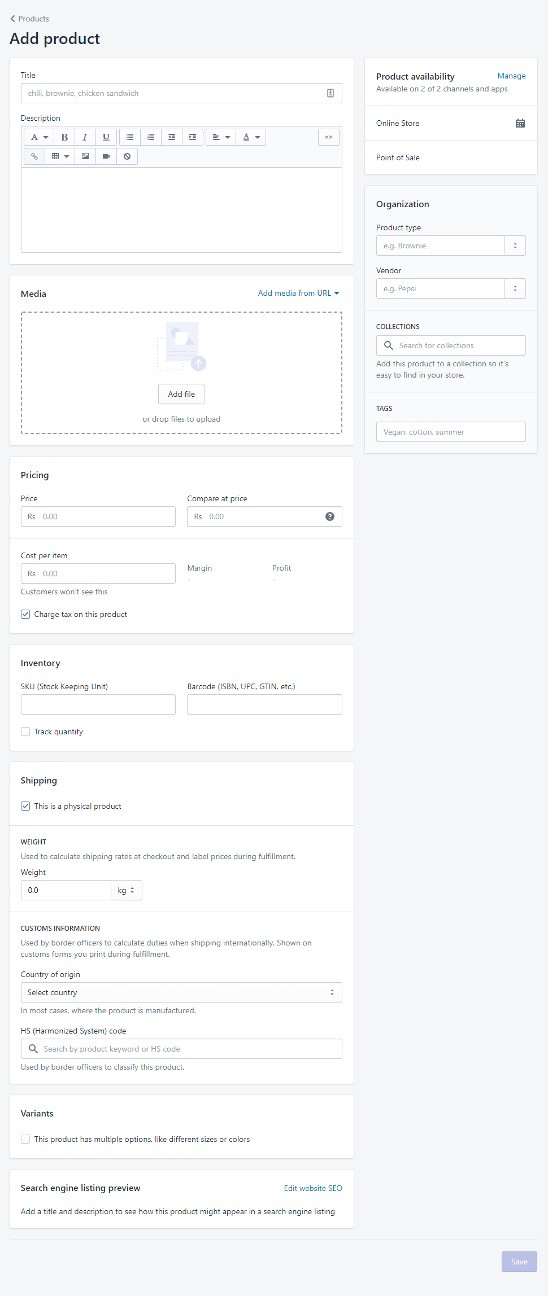
Here is an overview of the major sections on the product page and how to optimize different sections to make your meals stand out from the crowd.
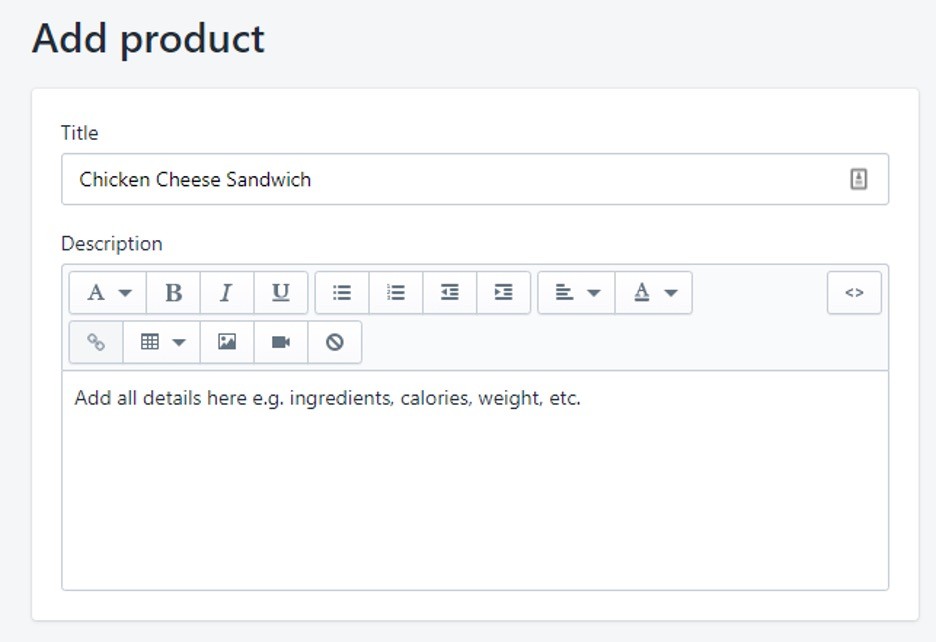
Product Title, Description, and Media
The product title is where the meal name will go. It must be clear and descriptive. The title will be visible in search engines and it is the first thing that your audience will see when visiting your store. Keep it tasty and relevant.
Add the meal details in the description section. This is where you can describe your meal. Talk about ingredients, calories, macros, hygiene, key features, taste, and everything you wish. Make it easy-to-read by adding sub-headings, bullets, and short paragraphs.
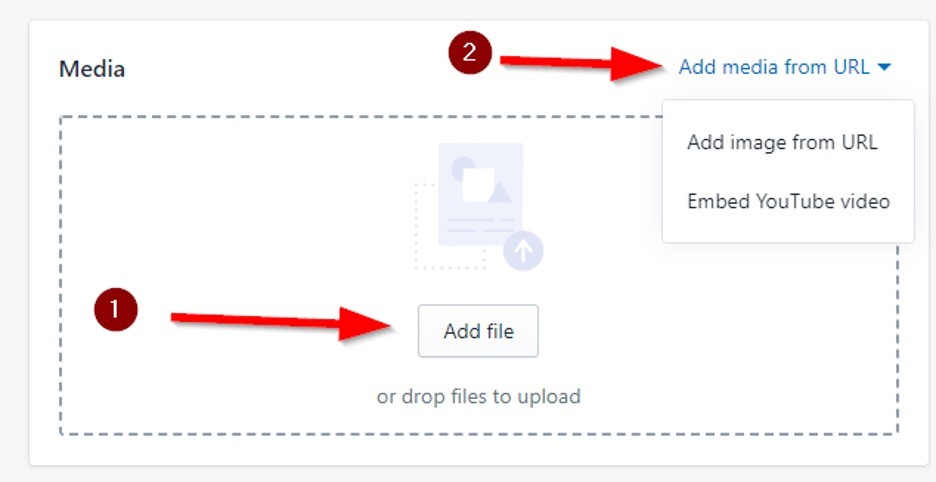
You can add photos, videos, and meal-related media from the media section. Click Add file to upload files from your device. You can also add images via URL or embed YouTube videos by clicking Add media from URL:
Product images play a crucial role in ecommerce. As much as 67% of consumers consider product image quality very important when buying a product. The majority of consumers value product image quality more than product information (63%), description (54%), and reviews (53%).
Add relevant, high-quality meal images preferably from all angles. Using professional photographs is recommended (but not necessary). You can also record and upload meal videos to make your product pages even better.
Pricing and Inventory
Add meal cost in the Pricing section. You can charge tax and add cost per item to calculate margin and profit. The cost per item isn’t visible to the consumers.
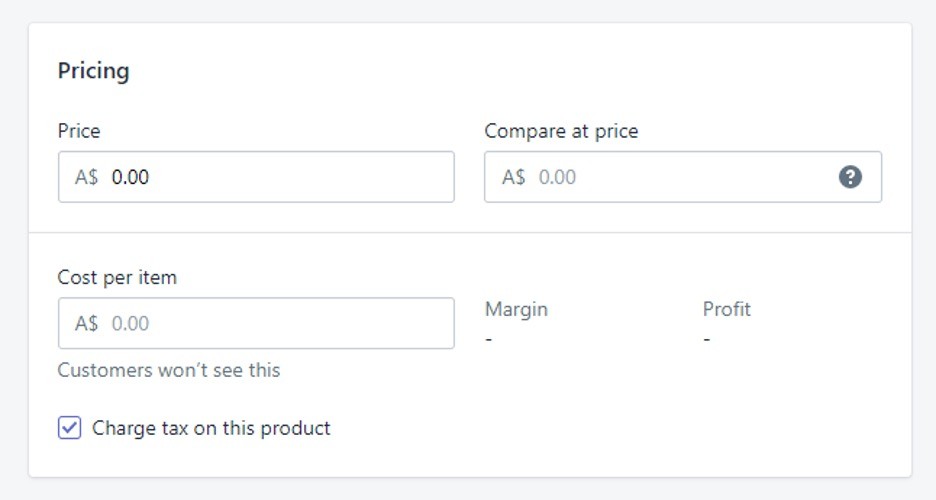
The compare at price is optional that is used to show a reduced meal price. It lets customers compare before and after price for items that are on sale.
You can add inventory details in the Inventory section that includes SKU and barcode. As a meal provider, you only need to add SKUs. Leave the barcode field empty.
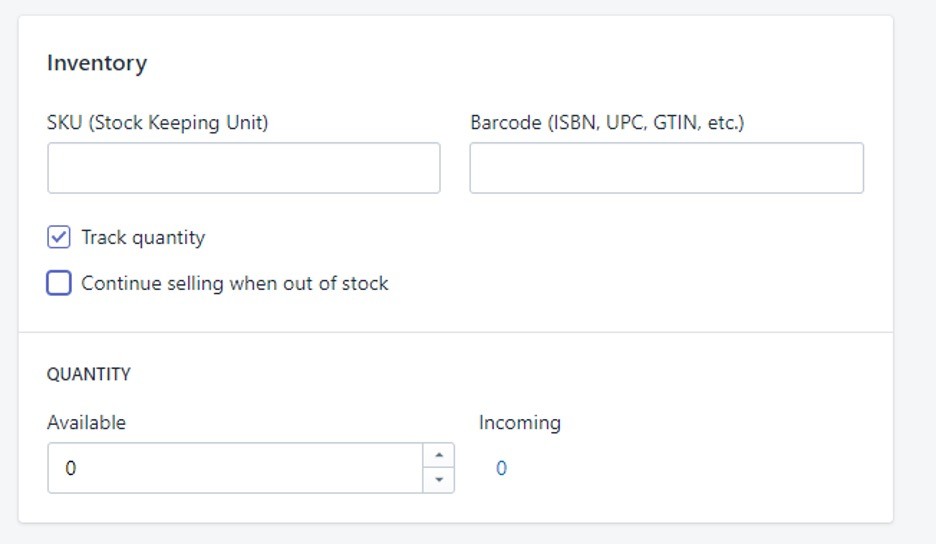
Create Stock Keeping Units (SKUs) to differentiate meals and inventory management. This makes inventory management for related meals easier. You can use this free Shopify app to create unique SKUs for meals.
Barcode isn’t required since you are selling meals. You can track quantity too and add available quantity but since you are producing your own meals, you don’t necessarily have to track quantity.
Shipping
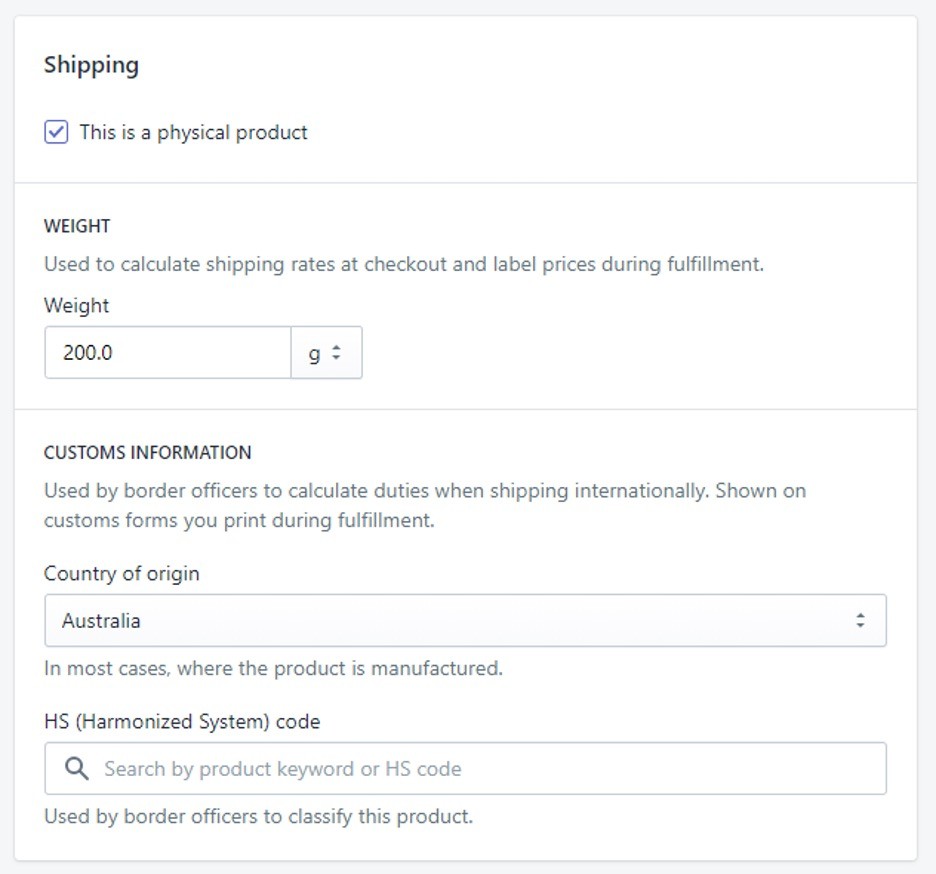
Check This is a physical product and enter meal weight to calculate shipping cost. As a meal provider, you’ll be shipping to a specific geographic region and not internationally. However, if you ship internationally, add Australia in the country of origin and HS code for customs.
Variants
You can add meal variants if you offer multiple variations of the same meal. For instance, if you offer different sizes or types of the same meal, you can add them as variants. This saves you from adding all meal variants as separate products.
Check This product has multiple options and choose the option from the dropdown menu:
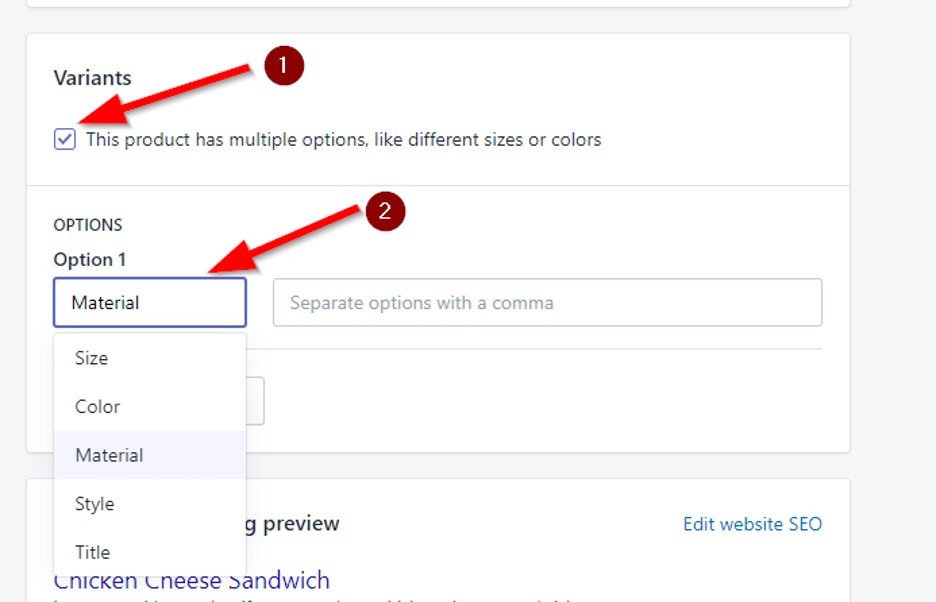
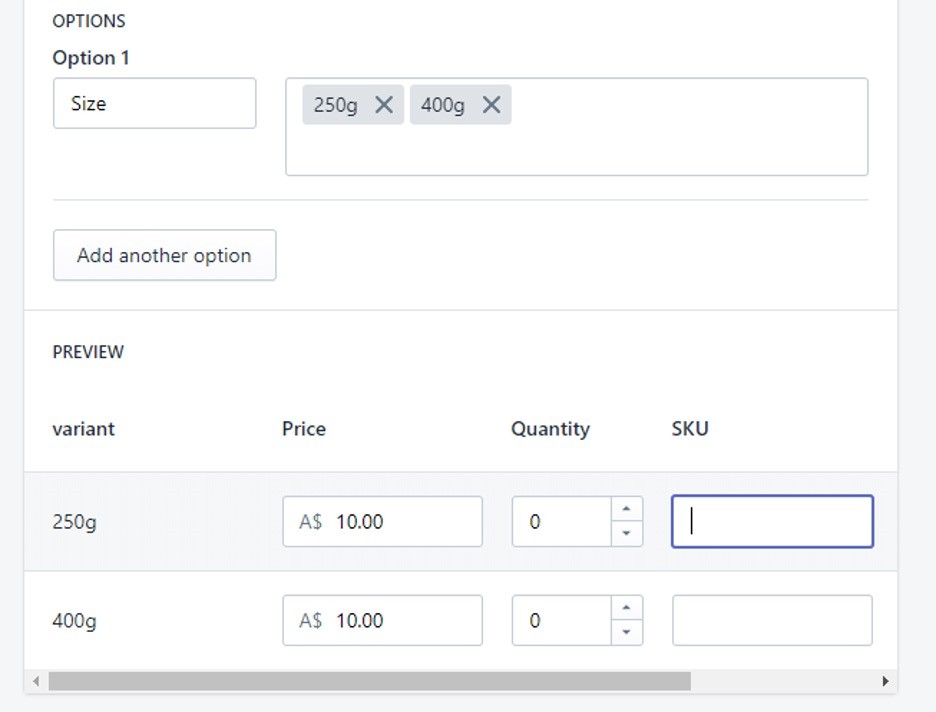
Select appropriate options such as material (ingredients) or size. Add all the variants by separating them with a comma. You can add a variant image, price, quantity, and SKU:
Availability and Organization
Product availability is the first section that is available on the right sidebar. You can choose if the meal is available on both POS and online store by clicking Manage:

Select where it is available by checking the right options:
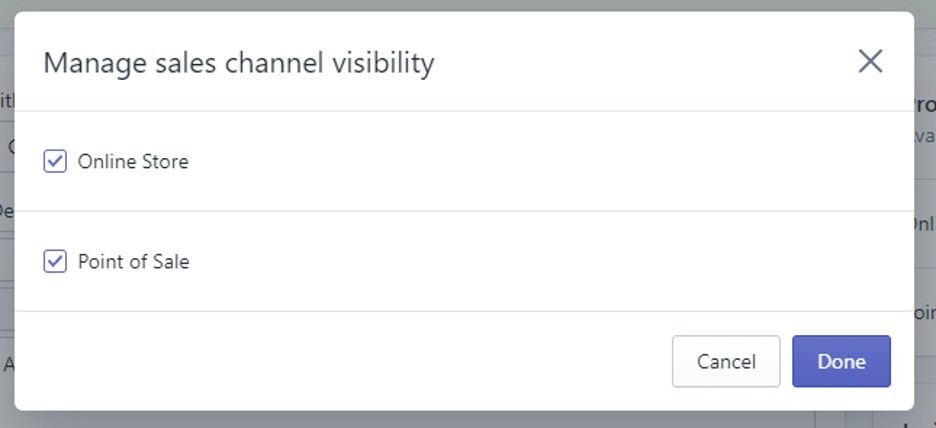
If you sell your meals on Facebook, Instagram, or any other channel, they all will appear here later when you’ll integrate everything in the settings.
Organization section is where you can add product type, vendor, tags, and collections:
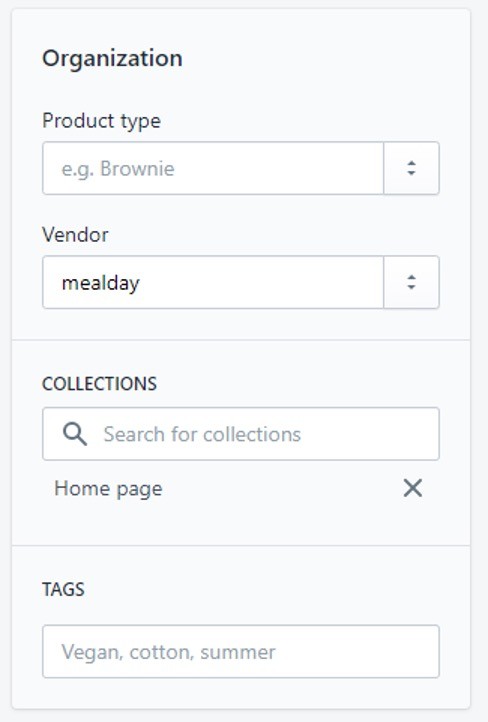
It helps you organize your meals into tags and collections.
Once you are done, click Save on the top of the page to save your product:

Congratulations, you have successfully added your first product. Repeat these steps to add more products.
Step #3: Create Pages
After you have added your main products, it is time to create your store pages. Pages help you communicate with your customers and provide them the information they need. Setting up pages on Shopify (e.g. contact, about us, etc.) is straightforward. Here is how to do it.
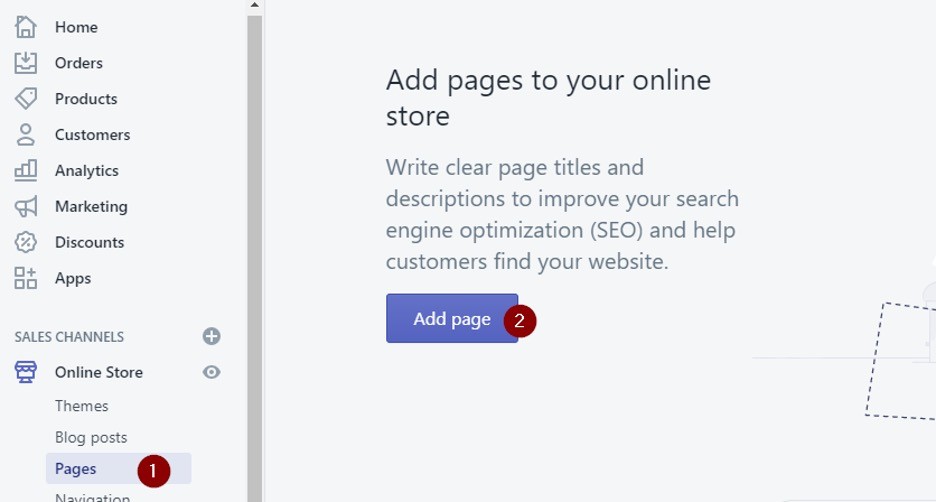
Click Pages under Online Store in the dashboard and then click Add page:
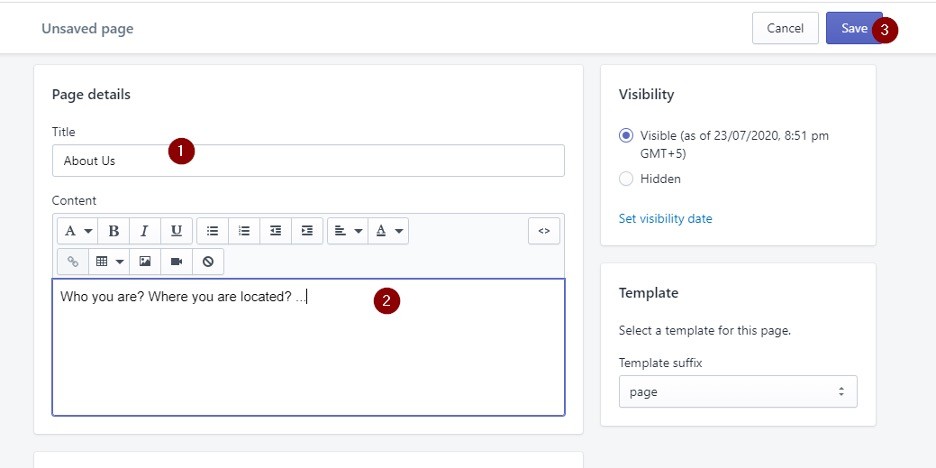
If you have ever used CMS, the next page will look familiar. Add a page title, add content, and click Save:
You can add multiple pages for your meal provider store. Here is a list of core pages that you must create:
- About page to share your business story and to tell your ideal customers about your business and team.
- Contact page to let visitors contact you in case of queries. Add a complete address, business name, phone number, customer support email address, and links to your social networks.
- Legal pages include policy pages (refund, privacy, shipping, and terms of service). These are essential as they provide your customers with information related to several important aspects such as return and refund policy, privacy policy, how you handle and safeguard customer’s personal and financial information, terms and conditions, disclaimers, and any other legal information that you must share with your customers. You can create these pages from Settings > Legal.
- Any other pages that you think are necessary for your meal provider business such as areas served, special deals, FAQs, etc.
Add Your Existing Domain
You can connect your existing domain with Shopify. Click Online Store in Shopify dashboard and click Domains:
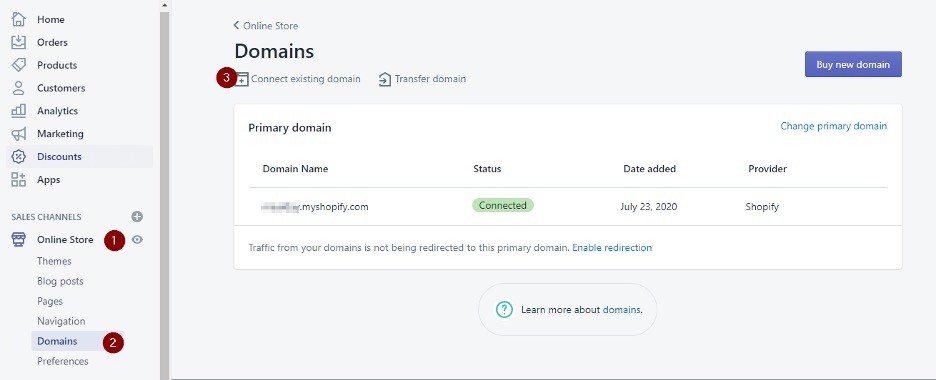
You’ll see your current domain name which will be a Shopify subdomain (yourdomain.shopify.com). This doesn’t look professional, so it is a good idea to connect your existing domain by clicking Connect existing domain.
You can also transfer your domain or buy a new domain of your choice.
Enter your existing domain name and click Next:
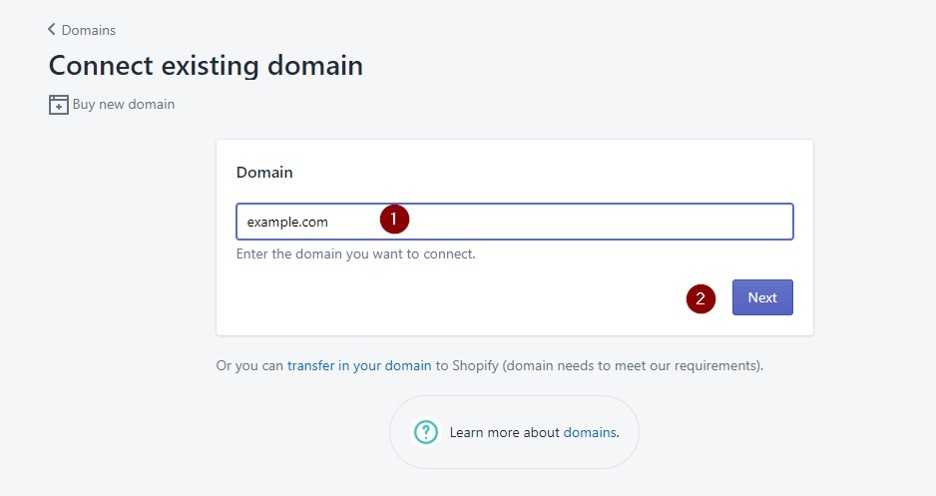
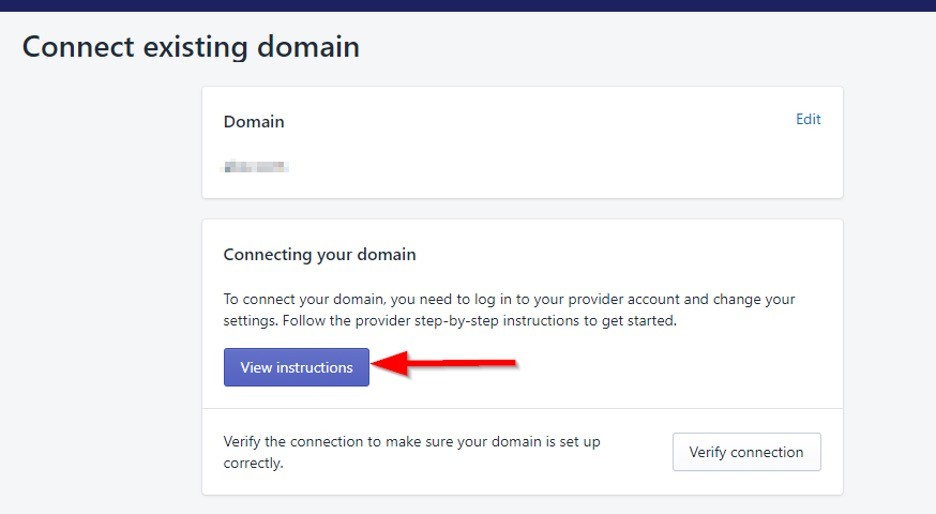
You’ll get detailed instructions from Shopify to begin the process. Follow the instructions.
Step #4: Store Customization
After setting up pages, you are all set to customize your store by selecting a relevant theme. Click Online Store and then Themes:
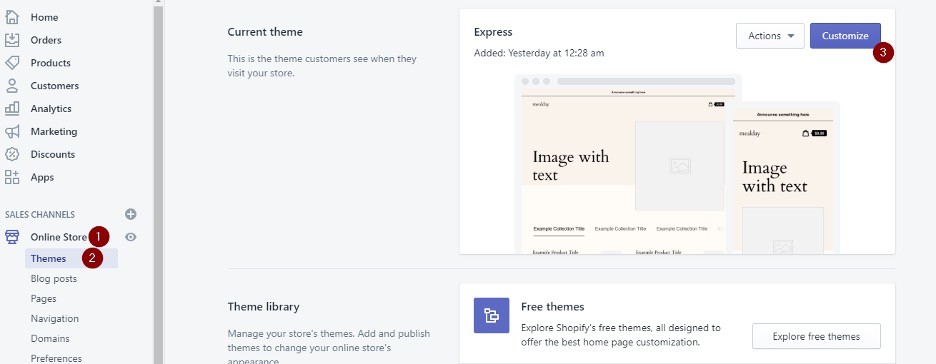
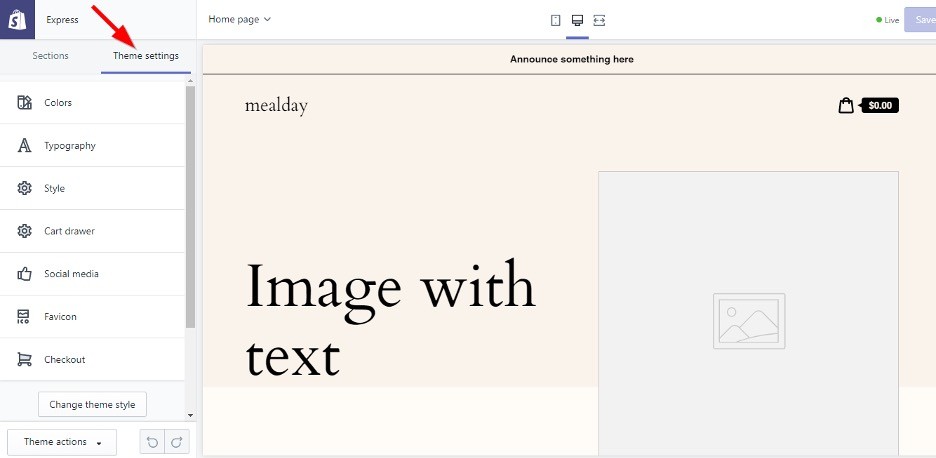
You’ll be able to customize your current theme by clicking Customize. If you want to explore other free or premium themes, check out the Theme Library. The customization interface has several options based on the theme you are using.
You can edit colors, typography, style, cart drawer, social media, checkout, favicon, and theme style for Express theme (the default theme for meal providers):
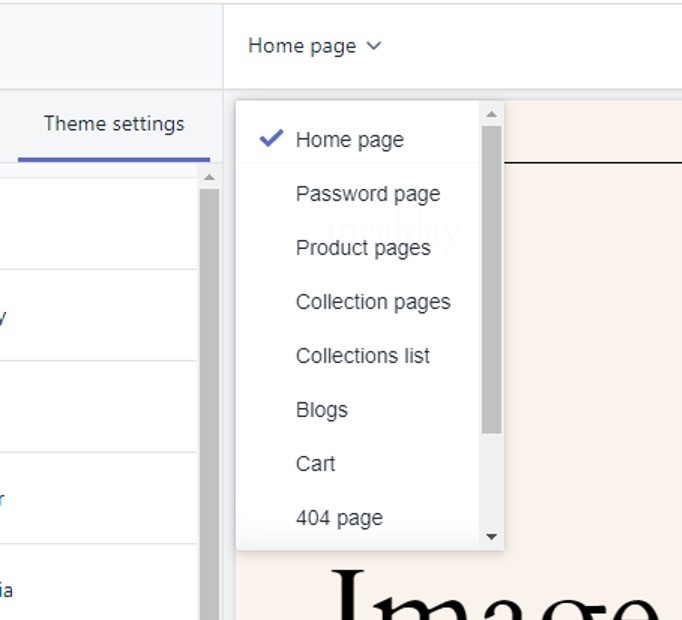
Navigate between pages from the dropdown at the top:
You can view changes in real-time for both mobile and desktop versions. There are several essential elements that you must customize to make your store unique and stand out from the crowd:
- Logo and favicon
- Footer and header
- Color scheme and typography. Don’t use the default color scheme and typography
- Customize checkout page
- Customize the home page, blog, and product pages
The color scheme and overall design of the store must align with your physical store’s theme. Use the same color theme and stick with your business philosophy and core values.
Step #5: Setup Shipping and Payment Processor
After you have successfully customized your store, and you are satisfied with its overall design, you need to set up shipping and payments. The shipping details you entered on the product page were just the basics, you need to set up everything correctly at the backend.
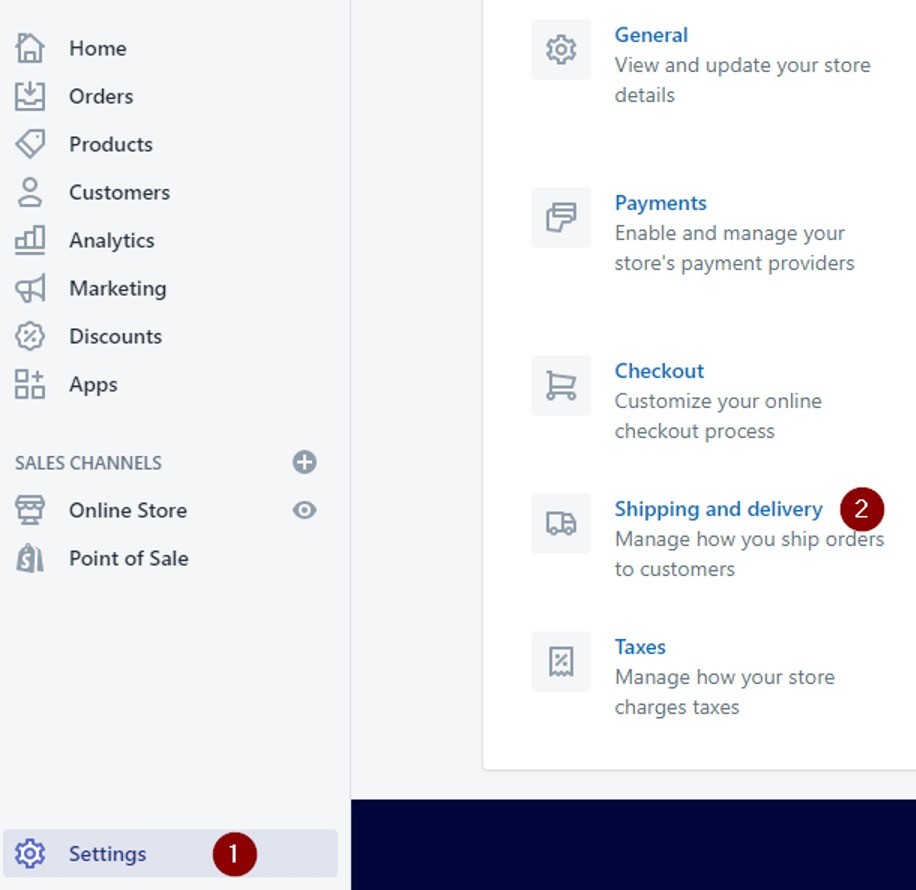
Click Settings and then click Shipping and delivery from Shopify admin panel:
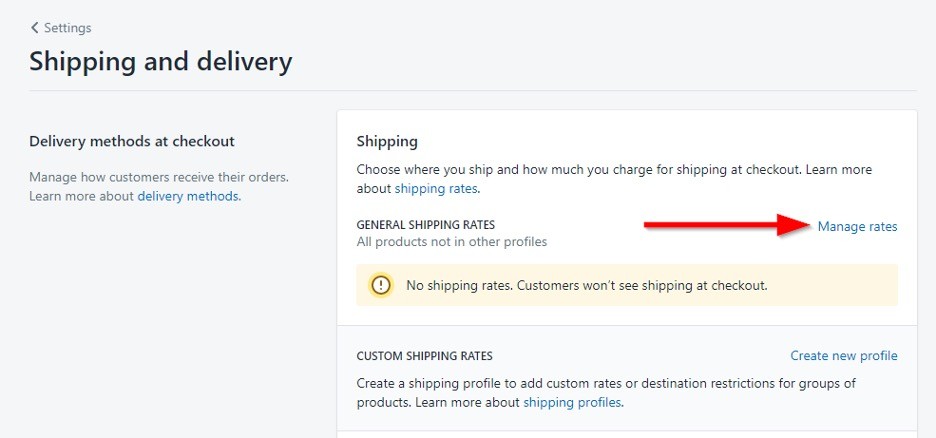
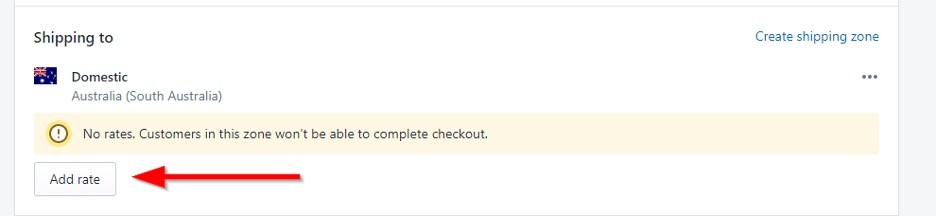
Click Manage rates to create shipping rates:
Click Add rate in the Shipping to section to set a standard shipping rate for a shipping zone:
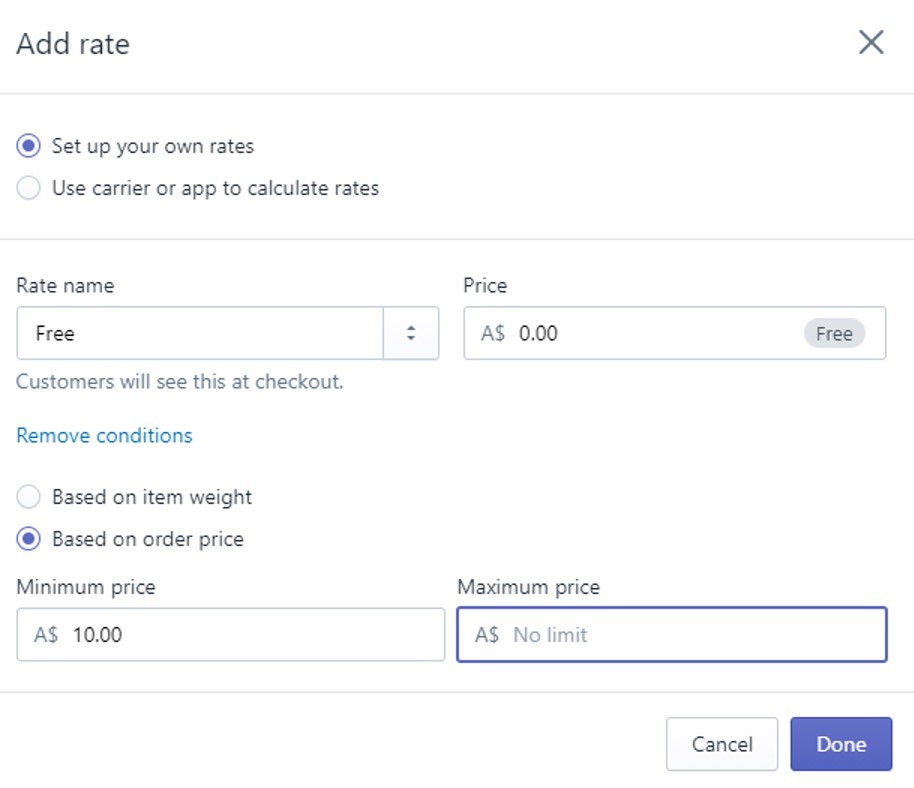
You can set up your own rate or use an app to calculate shipping rates. It is recommended to set up your own rates as it works best. Give a name to your rate and add price. You can also add conditions such as shipping rate variation based on weight or order price. Click Done to save the shipping rate:
You can add more rates for the same zone, and you can add multiple zones by clicking Create shipping zone. Once done, click Save:
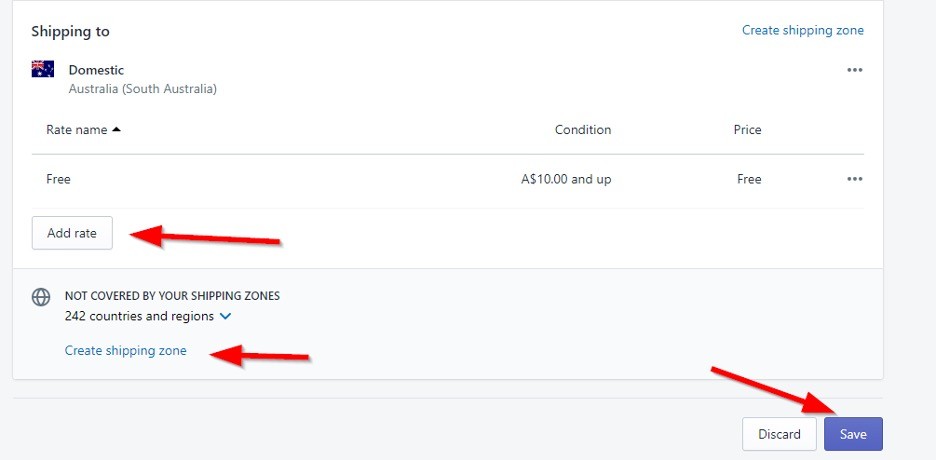
You can add custom shipping rates and destination restrictions, local pickup locations, and set up fulfillment services.
Payment Providers
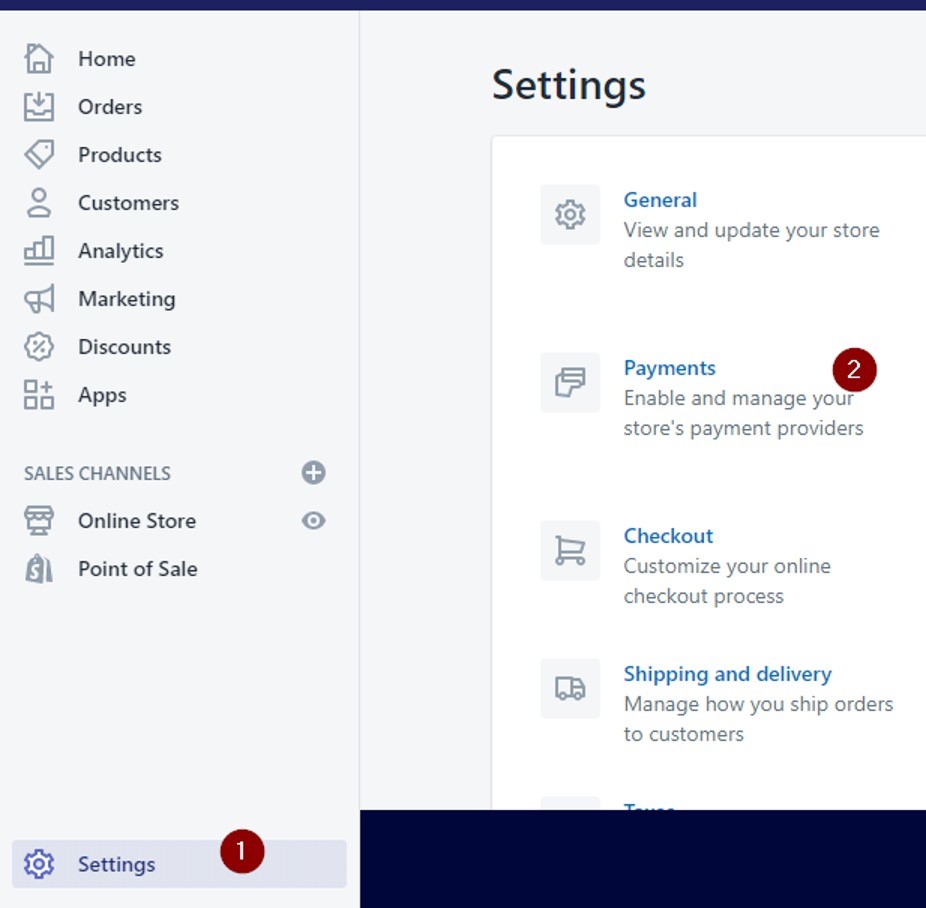
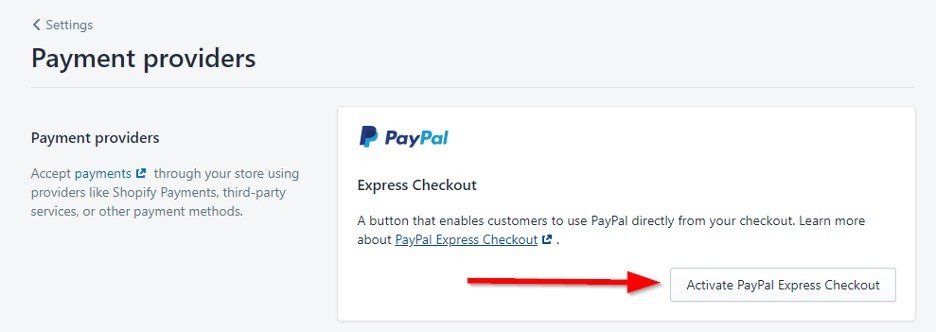
Once you are done with shipping, move back to Settings, and click Payments to set up and manage payments:
This is the section where you can add your payment processor. The most common payment solution is PayPal that you can activate right away if you have a PayPal business account.
You can also choose third-party payment providers that include several leading payment providers such as 2Checkout, SecurePay, Authorize.net, and others. You can check the list of all the payment providers for Australia here.
Shopify also lets you add manual payment methods including COD, bank deposit, money order, and custom payment method:
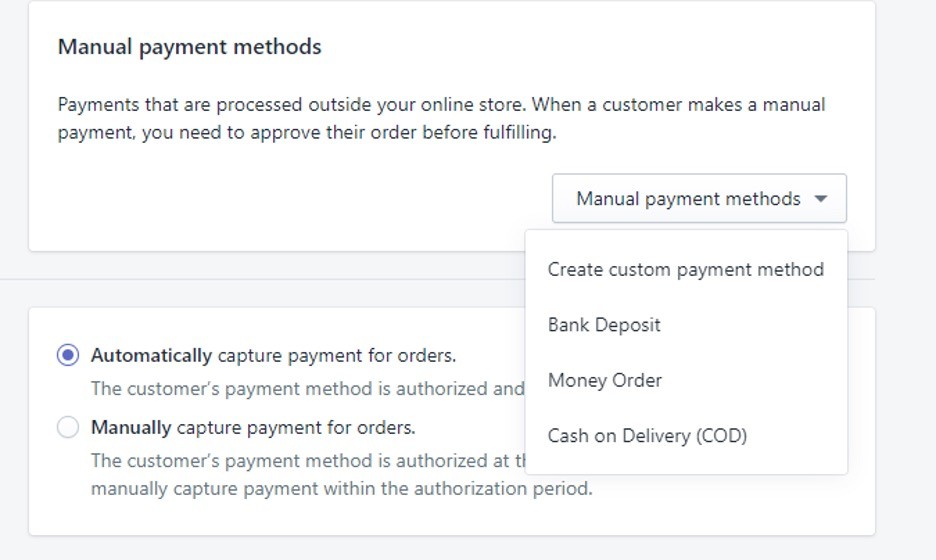
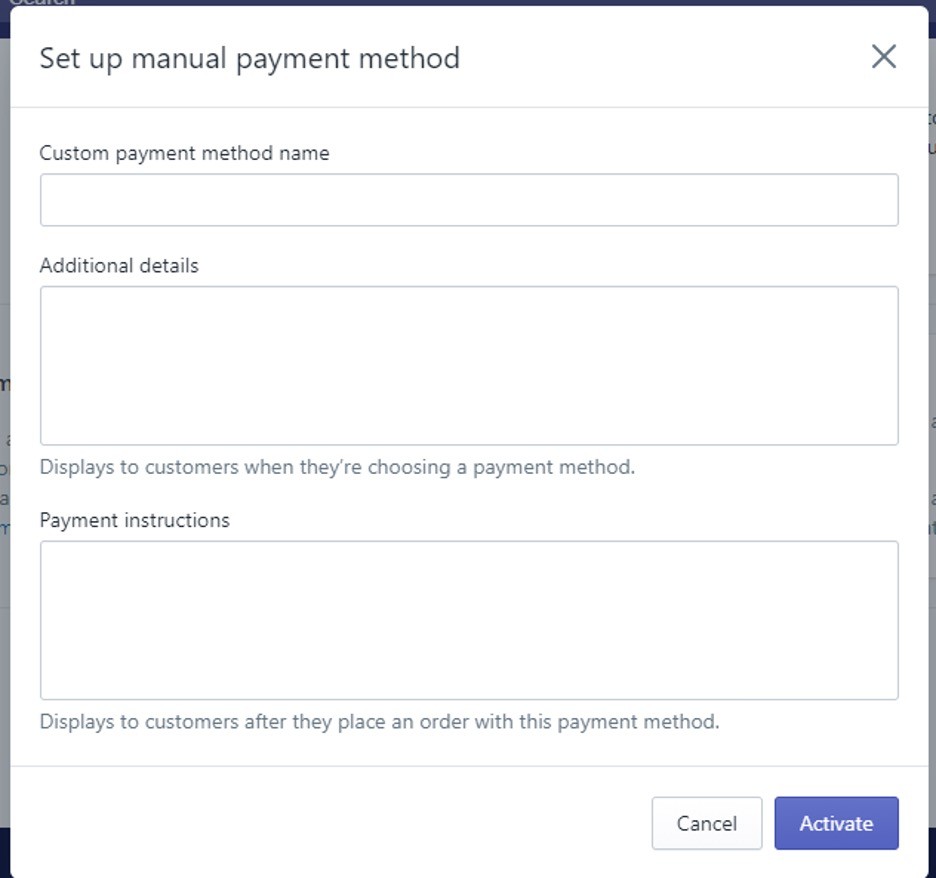
There are several options to choose from when it comes to payment processors. If nothing else works, you can set up your custom manual payment method by filling this simple form:
Step #6: Prelaunch Checklist
If you have made this far, you are one step away from launching your meal provider online store – congratulations. Before you launch your store, go through this checklist and make sure you haven’t missed anything:
- You have added your meals and their variants with images and description
- You have added all the necessary pages
- Your store is customized and looks great
- Delivery, shipping, and payment method are set up correctly
- Homepage and all other pages are functional, and you have previewed all of them
Make sure you have completed all these steps.
Step #7: Launch Your Store
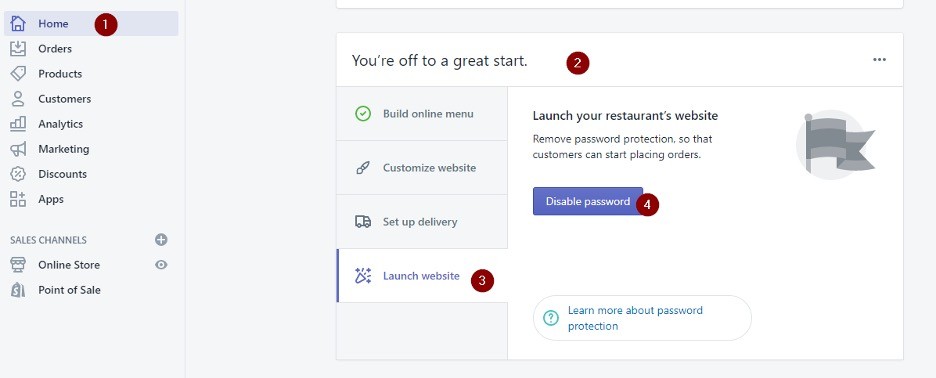
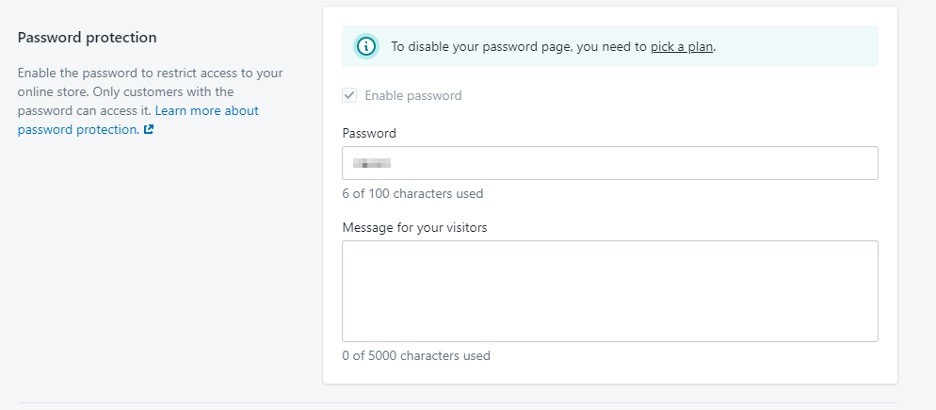
Finally, it is time to launch your online store and start taking orders online. Click Home from the dashboard, click Launch Website from You’re off to a great start section, and click Disable password:
You’ll see the Preferences section where you’ll be asked to pick a plan to launch your store:
Yes, you can’t launch your store with a free plan. The starting price is $29 per month for the basic plan that comes with 2 staff accounts, 4 locations, and POS. Select it to launch your store:
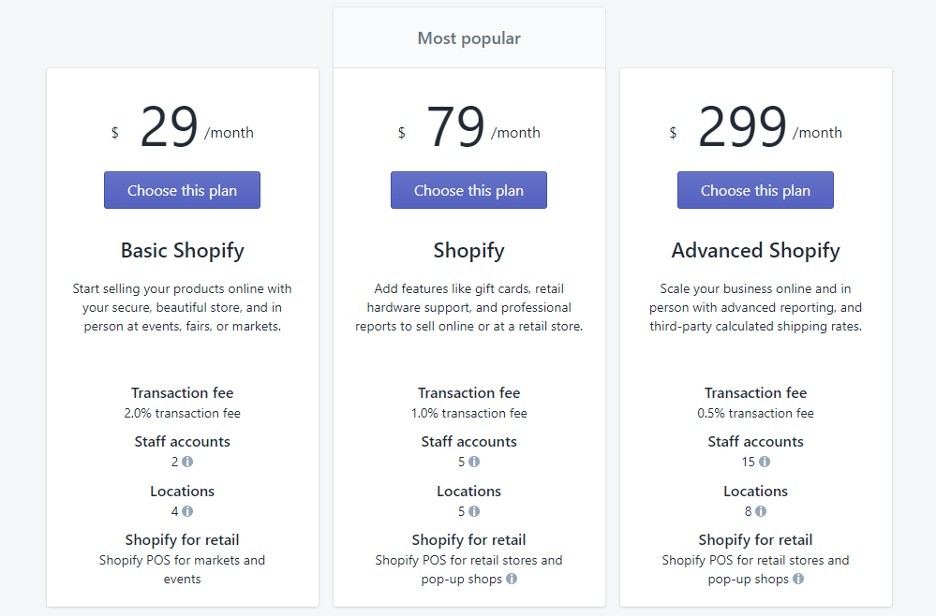
As soon as you’ll switch to a paid plan, your store will be instantly visible to your customers.
Step #8: Market Your Online Store
Launching your online meal store is just the beginning. The next step is telling your ideal customers about your store. You need to promote your online store to drive traffic and generate sales.
Here are the best ways to market your online store:
- Reach out to your existing customers and tell them that you have opened an online store for their convenience. Share brochures with your store’s URL at your physical stores.
- Share the news on your business social media accounts. Add store URL in social profiles so people can see it.
- Integrate your online store’s promotion with existing marketing channels and campaigns. For example, if you use SMS marketing to promote your meals, use it to promote your online store.
- Run ad campaigns on Facebook and Instagram.
- Run Google Ads to promote meals to your local audience.
- Use SEO Shopify apps to optimize your store for search engines.
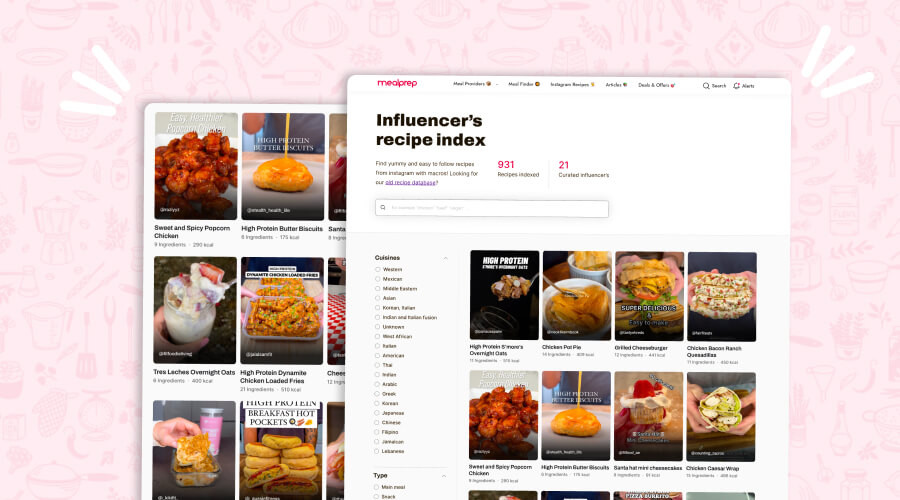
- Partner with micro-influencers.
- Publish valuable content on the store blog to rank improve organic traffic.
- Guest blog on authority websites to drive referral traffic and to acquire natural backlinks to improve search traffic.
The list can go on and on…
The idea is to get serious about marketing because that’s the only way to make it work for your business.
Conclusion
It isn’t a big deal for new meal providers to start selling online through Shopify. It has everything already in place for you. With an easy-to-use and self-explanatory dashboard, you’ll love using the interface. It’ll hardly take an hour to set up and launch your online store once you have the content ready.
For now, you need content for pages, product descriptions, and product media. If you already have a website, you’ll have most of the content available with you. What’s stopping you from getting started? Your customers are already shopping online, be there where your customers are.